Civic/Integra Fuel Level Sender Replacement
Published: June 11, 2015
This guide was confirmed to apply to 88-91 (EF) Civics and 90-93 (DA) Integras. Other Civic and Integra models should be simiar in operation but may have different dimensions for the parts, see for example this comparison between EF and DA senders.
Before beginning, it is a good idea to source a new gasket for the fuel level sender, especially on Integra models where the gasket fits around the sender cover as opposed to under the sender cover which is the case for EF Civic models.
Open the gas cap to equalize pressure. You may want to follow the procedure for relieving fuel system pressure as well.
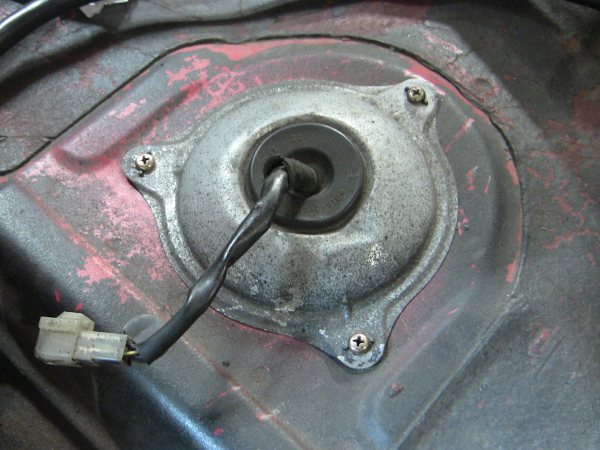
Locate the sender cover. My car has no interior, if your car has interior you would need to remove the back seat for access. The cover is in the center of the car under the back seat.
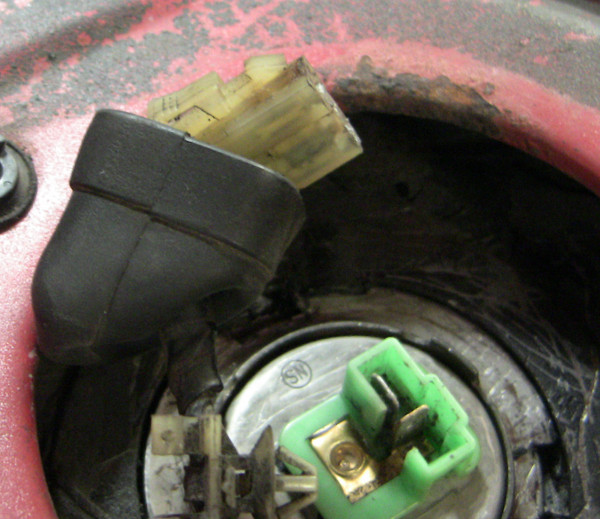
Disconnect the fuel level sender from the fuel tank subharness. There is a rubber boot covering the connector; pull the boot upward until the connector is exposed.
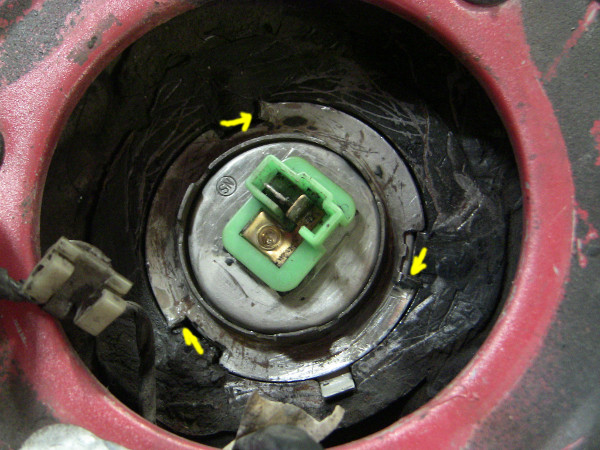
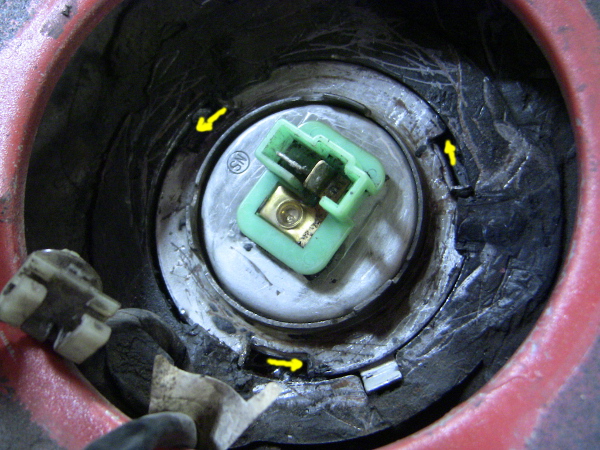
You will now be looking at the top of the fuel level sender, which looks like this:
Your sender cover may have a coating of dirt, grease and/or sealer on it and appear completely black. Scrape the dirt off with a flat head screwdriver, picks, etc.
Honda has a tool for removing the retaining ring, or you can use a hammer and a drift. Hit the edges of the ring where the arrows indicate on the image below. The ring can move side to side; if it is not rotating, try hitting the next hole counterclockwise.
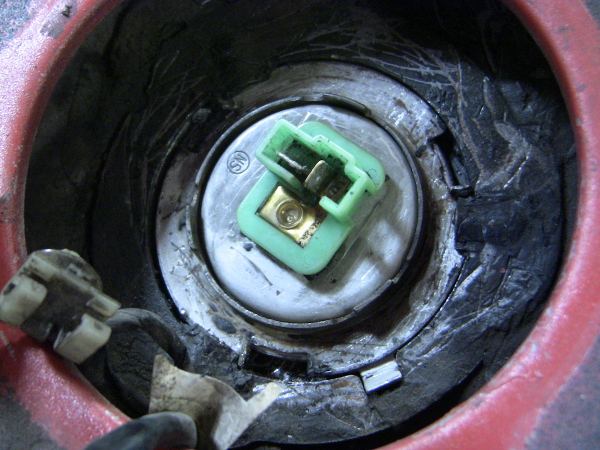
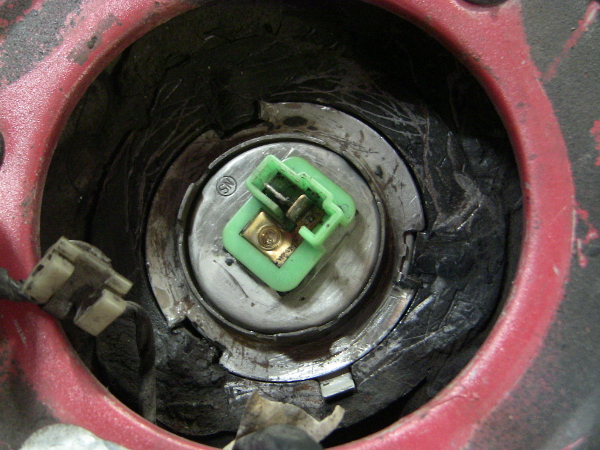
You need to rotate the ring 1/3 of a turn until the holes in the ring line up with the tabs on the body:
As the ring is approaching this position, if there is any pressure in the fuel system (which there would be unless the fuel pressure relief procedure was followed - merely taking the fuel filler cap off is not enough) the pressurized air would escape from the fuel tank. Proceed slowly.
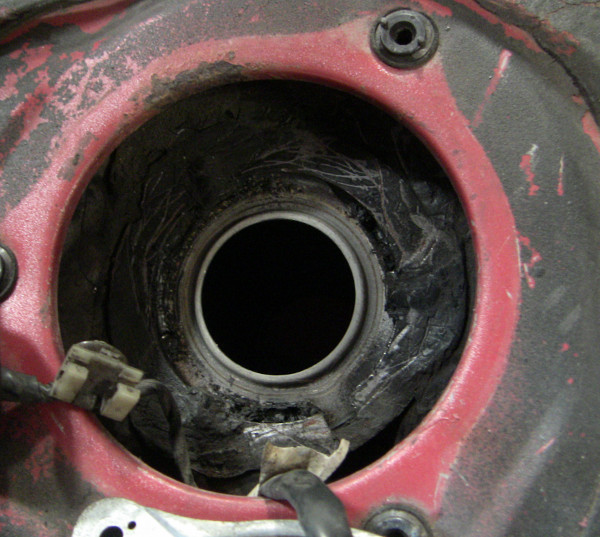
Once the ring is in the open position, pull on the connector and lift the fuel sender out of the gas tank.
Now is a good time to clean up the top of the fuel sender, the retaining ring as well as any dirt around the hole in the fuel tank. Take care not to launch dirt into the fuel tank.
You can see photos of the retaining rings and sending units here.
Installation is reverse of removal.
To install the ring you can again use a hammer and a drift. If the ring gets stuck in the middle of its rotation, move to the next hole clockwise to keep it turning.